Sourdough Starter Recipe
Sourdough Starter Recipe: Tips & Tricks for a Fluffy Loaf Every Time
Introduction: The Magic of Sourdough Bread
Sourdough Starter Recipe-There’s something truly magical about sourdough bread. It’s not just about the taste or texture — it’s about the journey of bringing a humble mixture of flour and water to life. Whether you’re a seasoned baker or just starting out, making your own sourdough starter can feel like an art form. And trust us, there’s nothing more rewarding than pulling a golden-brown, bubbly loaf out of the oven, knowing it’s made entirely from your efforts.
Sourdough starter is the key to creating that signature tangy flavor and chewy texture that we all love. But how do you make sure your starter is the one that gives you a fluffy, beautifully risen loaf every single time? That’s where the tips and tricks in this article come into play. Let’s dive in and unlock the secrets to creating the perfect sourdough starter, guaranteed to give you bakery-quality bread right at home.
What is a Sourdough Starter and Why is It Important?
Understanding the Basics of a Sourdough Starter
A sourdough starter is a living organism that requires care, attention, and a little bit of patience. At its core, it’s simply a mixture of flour and water that ferments over time, cultivating wild yeast and bacteria naturally present in the environment. These microorganisms are what make sourdough bread different from breads made with store-bought yeast. They contribute to the rise of the dough and also to the bread’s distinct flavor.
So why should you go the extra mile and make your own starter? Because store-bought yeast doesn’t capture the same wild flavors and health benefits that a naturally fermented starter does. Homemade starters are full of beneficial bacteria that promote gut health, and over time, your starter will develop a depth of flavor that store-bought yeast can’t compete with.
To dive deeper into the science behind sourdough fermentation and the role of wild yeast, check out this detailed guide on how sourdough starters work.
The Relationship Between Sourdough Starter and Your Loaf
The quality of your sourdough starter directly impacts the quality of your bread. A healthy, well-maintained starter will provide consistent results, giving your bread a light, airy texture with that perfect chewy crumb. On the flip side, an underfed or improperly maintained starter may result in dense, flat loaves. This is why nurturing your starter with regular feedings and the right ingredients is essential for achieving that perfect fluffy loaf every time.
Ingredients You’ll Need for Your Sourdough Starter Recipe
Simple Ingredients for a Perfect Starter
Creating a sourdough starter recipe doesn’t require fancy or hard-to-find ingredients. All you need are three basic components:
- Flour: The foundation of your starter. While you can use any flour, different types of flour will yield different results. Whole wheat flour is the best choice to kickstart your starter due to its high nutrient content, which feeds the yeast and bacteria more effectively. You can later switch to all-purpose flour for regular feedings once the starter is active.
- Water: Use filtered or non-chlorinated water to avoid killing the beneficial microorganisms that help your starter ferment. Chlorine, found in tap water, can hinder the fermentation process and slow down the growth of wild yeast.
- Optional Additives: While not necessary, adding a teaspoon of sugar, honey, or fruit juice (like apple cider) can jump-start the fermentation process by feeding the yeast more quickly. It’s especially helpful in the early stages if you’re struggling to get your starter going.
Ingredients Table
| Ingredient | Quantity | Notes |
|---|---|---|
| Flour | 100g | Whole wheat or rye for best results |
| Water | 100ml | Filtered or non-chlorinated |
| Optional Sugar | 1 tsp | Helps to jump-start fermentation |
Step-by-Step Guide to Making a Sourdough Starter Recipe

How to Begin Your Sourdough Starter Recipe
Making a sourdough starter is simpler than you might think. Here’s a breakdown of the process:
- Day 1: Mixing Your Starter
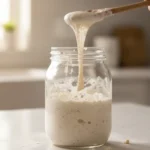
- Combine 100g of whole wheat flour with 100ml of filtered water in a clean glass jar. Stir until the mixture is smooth.
- Cover the jar loosely with a lid or cloth to allow air to flow in without letting debris get in.
- Leave the jar at room temperature (ideally between 70°F and 75°F) for 24 hours.
- Day 2-3: Feeding Your Starter
- Discard half of your mixture (about 100g) to make room for fresh flour and water. This is essential to maintain a balanced starter and prevent it from growing too large.
- Add 100g of flour and 100ml of water to the remaining starter. Stir well, cover, and leave it to sit at room temperature.
- Repeat this process of discarding and feeding every 24 hours. After a couple of days, you should start seeing small bubbles forming and the starter should begin to rise.
Monitoring Your Starter’s Progress
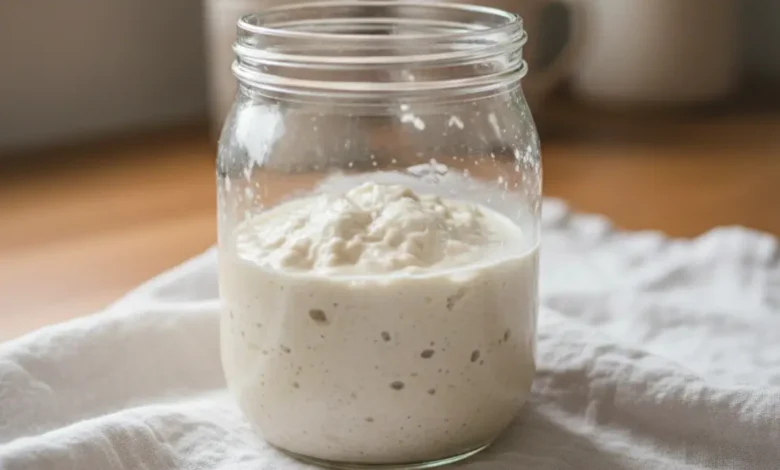
As your starter ferments, it will undergo several changes. By Day 3, you should notice small bubbles, and the mixture will begin to develop a slightly sour aroma. Don’t worry if it’s not yet doubled in size or if the bubbles are faint — this is normal in the beginning. Keep feeding the starter every 24 hours and observe how it changes.
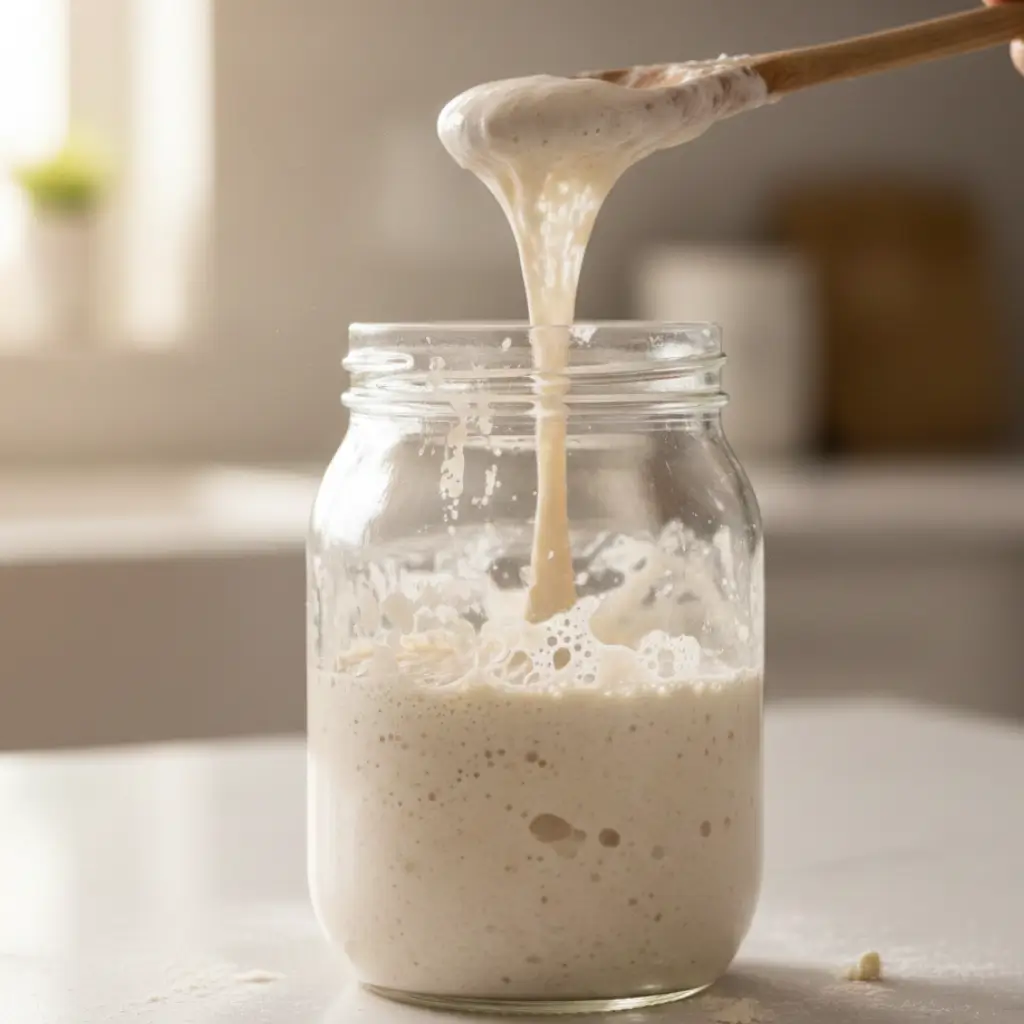
- Signs of Fermentation: Look for a steady increase in size, bubbles, and a tangy scent. Your starter is ready for baking once it has doubled in size consistently and has a pleasant, mildly sour smell.
- Troubleshooting: If your starter isn’t showing any bubbles or growth, it may need a little more time. If it smells off or rancid, it’s a sign that the fermentation process has gone wrong, and you might need to start fresh.
Tips & Tricks for Ensuring a Fluffy Loaf Every Time
The Best Practices for Using Your Sourdough Starter
Knowing when your starter is ready for baking is key to achieving the best results. Here’s what to look for:
- How to Know When Your Starter is Ready:
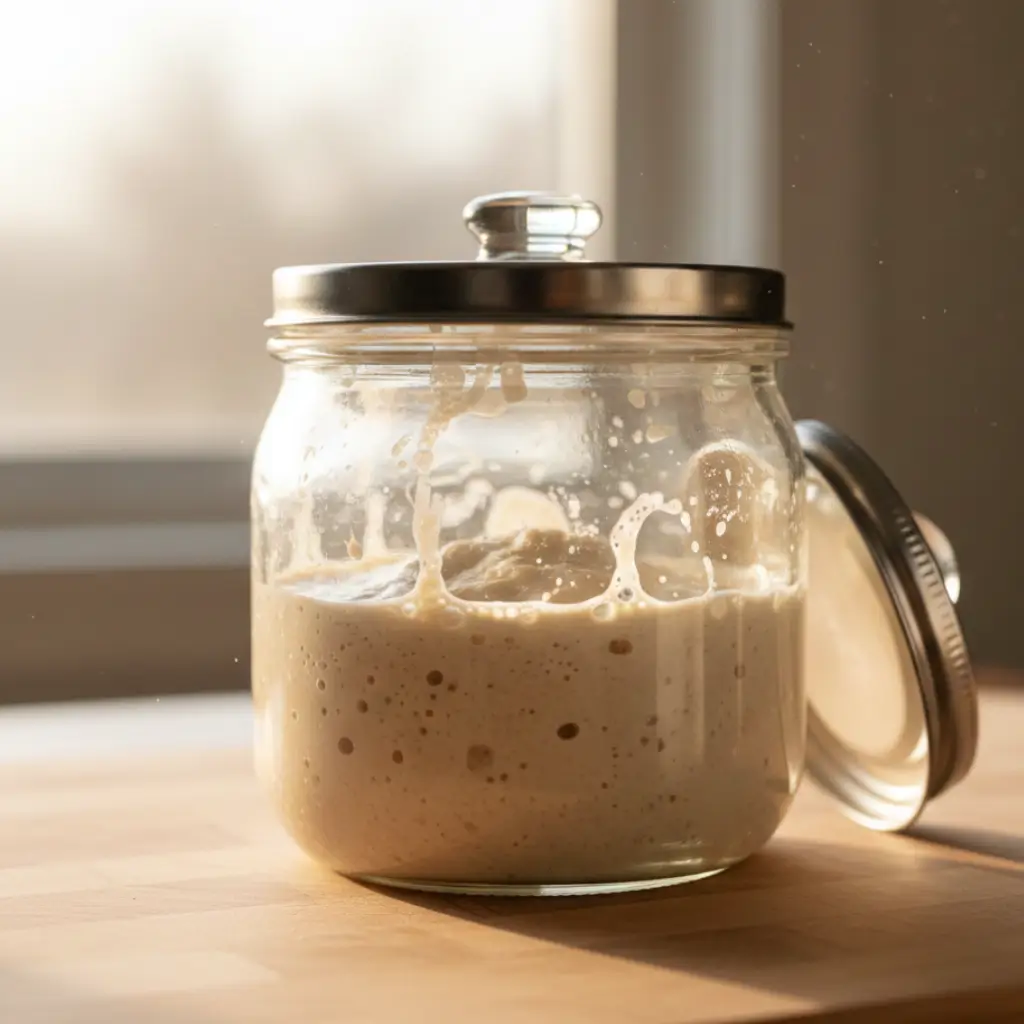
- Your starter should be bubbly and have doubled in size within 4 to 6 hours after feeding.
- It should have a pleasant, slightly tangy aroma, not overpoweringly sour or unpleasant.
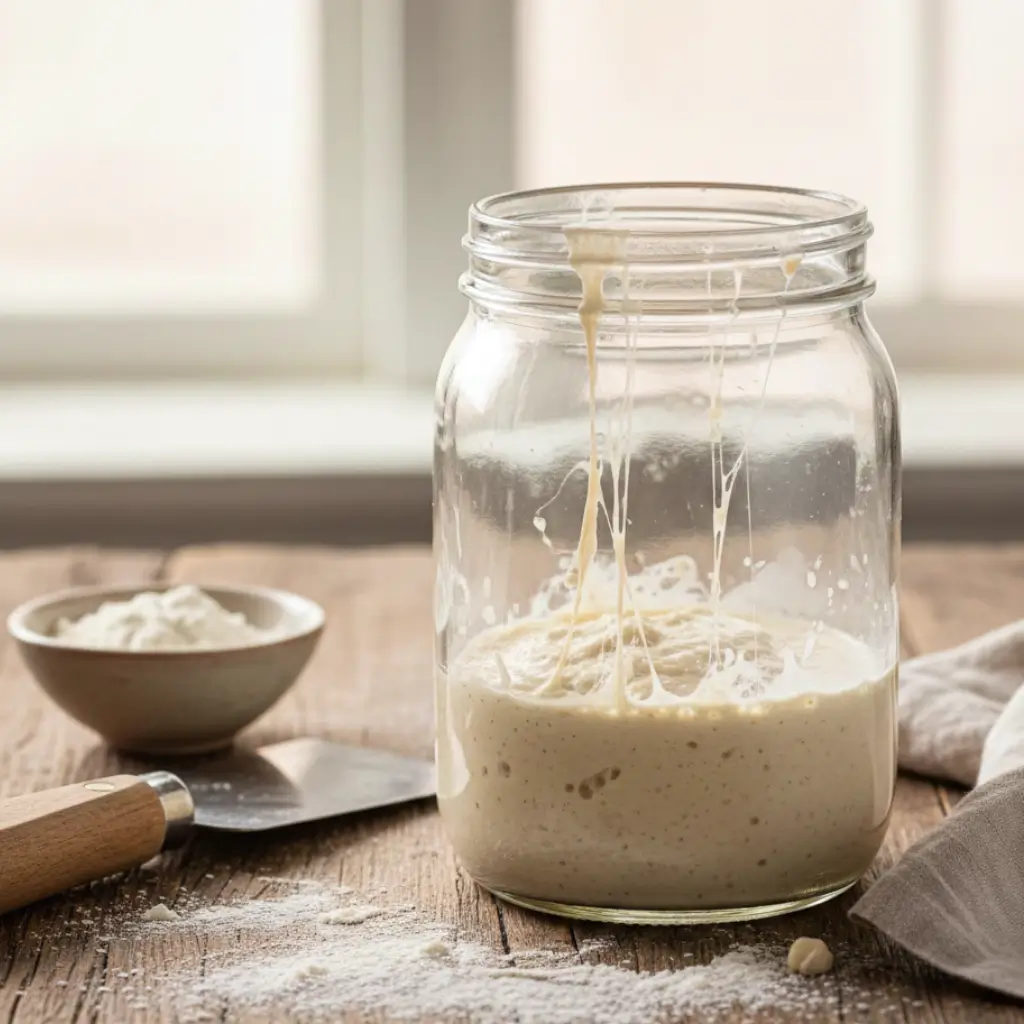
- Perform the “Float Test” to check its activity: Take a small spoonful of your starter and drop it into a glass of water. If it floats, it’s ready for baking.
Baking Tips for Sourdough Success
Now that your starter is ready, it’s time to bake! Here are some tips to ensure your sourdough bread turns out perfect every time:
- Shaping and Scoring Your Loaf:
- Properly shaping your dough helps achieve an even rise and a beautiful loaf. Gently fold and shape the dough into a tight ball, being careful not to deflate all the bubbles.
- Scoring the dough before baking not only enhances the loaf’s appearance but also allows it to expand in a controlled manner during baking.
- Choosing the Right Baking Method:
- Baking in a Dutch oven helps trap steam, creating that beautiful crispy crust and soft, airy interior.
- Alternatively, you can bake on a pizza stone or baking sheet, but you’ll need to add steam by placing a pan of water in the oven or spraying the dough with water before baking.
For an extra tip on avoiding common baking mistakes that can affect texture — similar to understanding what not to mix in other kitchen processes — check out this helpful article on juicing to see how ingredient choices impact your results.
Troubleshooting Common Sourdough Starter Problems
Even with all the right ingredients and techniques, things can sometimes go wrong. Here’s how to handle common issues:
Common Problems and How to Solve Them
- Starter Not Rising:
- This could be due to cooler temperatures or an inactive starter. Try moving your jar to a warmer spot (like near a radiator or on top of the fridge) and give it more time.
- Too Sour of a Starter:
- If your starter is too sour, it may be over-fermenting. Try feeding it more often or using less whole wheat flour and more all-purpose flour to reduce the acidity.
- Starter Smells Off:
- A sourdough starter that smells like rotten or rancid is no longer healthy. In this case, it’s best to start over.
For more inspiration on nourishing, wholesome kitchen habits that complement your baking routine, check out these healthy juicing recipes for energy and immunity.
Frequently Asked Questions About Sourdough Starters Recipe
Q: How long does it take to make a sourdough starter from scratch?
It typically takes about 5 to 7 days for a starter to develop enough yeast and bacteria to be ready for baking.
Q: Can I use tap water to make my sourdough starter?
It’s best to use filtered water, as chlorine in tap water can kill the wild yeast and slow down the fermentation process.
Q: How do I know when my sourdough starter is ready for baking?
Your starter is ready when it’s doubled in size, bubbly, and has a mild, tangy aroma. The float test is a great way to check if it’s active enough to use.
Q: What should I do if my starter is too sour?
If your starter is too sour, you might need to adjust your feeding schedule, or try using a different type of flour.
Conclusion: Mastering the Art of Sourdough Baking
Now that you have all the tools and tips to make the perfect sourdough starter, it’s time to get baking! Remember, creating a sourdough starter takes time and patience, but the rewards are well worth it. With consistent feedings and the right conditions, you’ll soon be able to enjoy a freshly baked loaf that’s light, fluffy, and full of flavor — all thanks to your homemade starter.
So, what are you waiting for? Start your sourdough journey today, and experience the joy of baking your own loaves from scratch!