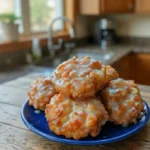
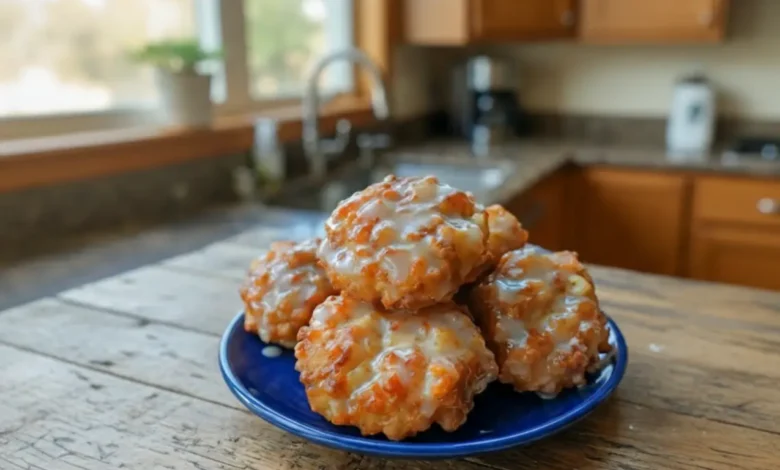
Baked Apple Fritters Recipe: Crispy, Sweet & Easy to Make
There’s nothing quite like the smell of fresh, baked goods wafting through your kitchen. Now, imagine that scent combined with the sweet, comforting aroma of cinnamon and apples. Baked Apple Fritters bring together the best of both worlds: crispy on the outside and soft on the inside, with a deliciously sweet twist. If you’ve never made these yourself, you’re in for a treat. In this article, we’ll guide you through everything you need to know to create the perfect baked apple fritters—no deep-frying required! You’ll learn the best ingredients to use, step-by-step instructions, and some useful tips and tricks to elevate this simple recipe into something extraordinary.
What Are Baked Apple Fritters?

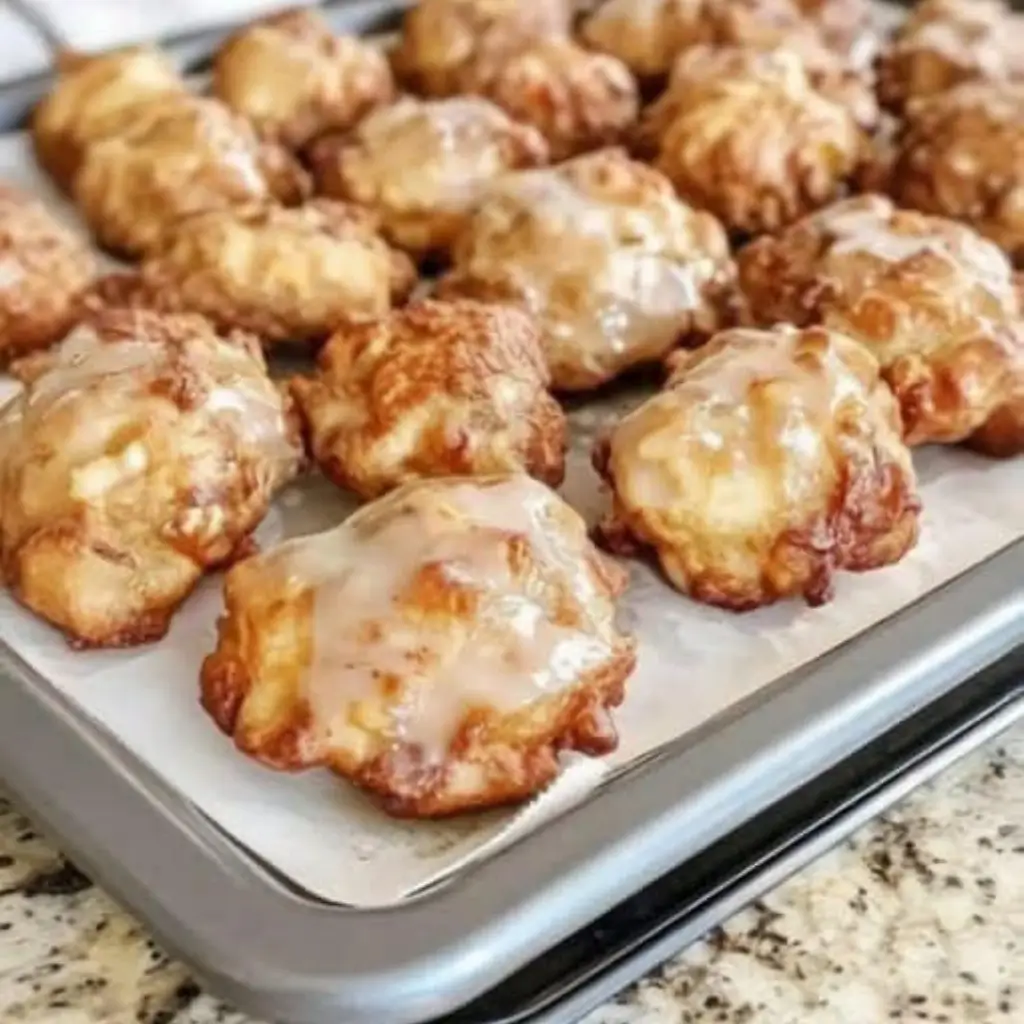
Baked Apple Fritters are a healthier, lighter take on the traditional fried fritter. They offer the same delicious flavor but without the excess oil or heaviness. Instead of frying, you simply bake these fritters in the oven, creating a crispy exterior and a soft, tender interior filled with sweet apple chunks and warm cinnamon.
The best part? Baked Apple Fritters are incredibly easy to make. All you need are a few simple ingredients, and you’ll have a batch ready in under 30 minutes. Whether you’re preparing them for a breakfast treat, a dessert, or just a comforting snack, they’re guaranteed to become a family favorite.
Why Choose Baked Apple Fritters Over Fried?
If you’re like most people, you might be wondering: “Why should I go the extra mile to bake instead of frying my fritters?” Well, here’s why:
- Healthier Option: Fried fritters, while delicious, come with the added calories and fat of deep-frying. By baking your apple fritters, you cut out that excess oil, making them a healthier choice without sacrificing flavor.
- Less Mess: Frying can create a lot of mess in the kitchen—splattering oil and leaving a greasy residue. Baking is a cleaner, more convenient option.
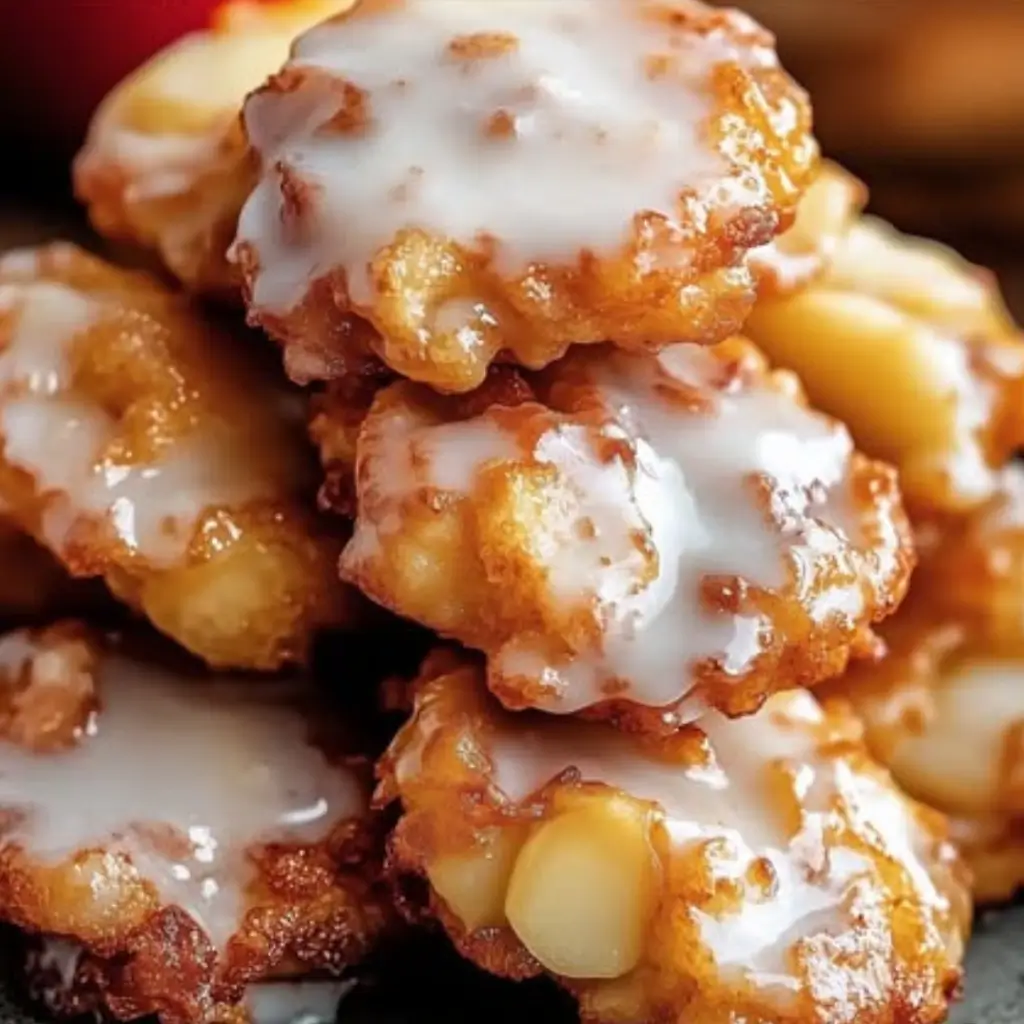
- Crispy Yet Soft: While baked fritters are lighter than their fried counterparts, they can still develop a wonderfully crispy exterior and a soft, pillowy interior. You won’t miss the frying at all!
Ingredients for the Perfect Baked Apple Fritters
Before you start baking, gather your ingredients. The beauty of baked apple fritters is that you don’t need anything too fancy. Here’s what you’ll need:
Key Ingredients:
2 cups all-purpose flour
1/2 cup granulated sugar
1 tablespoon baking powder
1/2 teaspoon salt
1 teaspoon ground cinnamon
1/4 teaspoon ground nutmeg
2/3 cup milk
1/4 cup unsalted butter, melted
2 large eggs
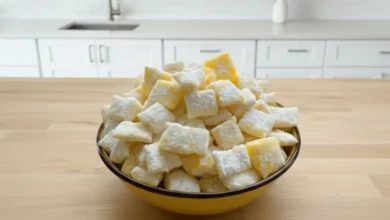
2 cups peeled, cored, and diced apples
1 cup powdered sugar
2–3 tablespoons milk
1/2 teaspoon vanilla extract
Step-by-Step Guide to Making Baked Apple Fritters
Let’s break down the process of making these fritters. Don’t worry; this recipe is simple and straightforward, even for beginners!
Preheat your oven to 350°F (175°C) and line a baking sheet with parchment paper.
In a large bowl, whisk together the flour, sugar, baking powder, salt, cinnamon, and nutmeg.
In a separate bowl, combine the milk, melted butter, and eggs. Beat well until fully combined.
Gradually add the wet ingredients to the dry ingredients, stirring until just combined. Be careful not to overmix.
Gently fold in the diced apples, ensuring they are evenly distributed throughout the batter.
Drop spoonfuls of the batter onto the prepared baking sheet, forming small fritters. Leave space between each fritter to allow for spreading.
Bake for 12–15 minutes, or until the fritters are golden brown and cooked through.
While the fritters are baking, prepare the glaze by whisking together the powdered sugar, milk, and vanilla extract in a small bowl.
Once the fritters are done baking, remove them from the oven and let them cool for a few minutes.
Dip each fritter into the glaze, ensuring they are fully coated. Place them back on the baking sheet to allow the glaze to set.
If you’re a fan of fritters, be sure to check out our delicious Pineapple Fritters recipe for another tropical twist on this classic treat.
Tips for Perfecting Your Baked Apple Fritters
To make sure your fritters come out perfectly every time, here are some tips to keep in mind:
- Use the Right Apples: Firm, tart apples work best because they hold up well in baking. Avoid overly soft apples, as they’ll turn mushy in the batter.
- Don’t Over-Mix the Dough: Stir the dough until the wet and dry ingredients are just combined. Over-mixing can lead to dense, tough fritters.
- Bake, Don’t Fry: While it may seem tempting to fry the fritters, the baking method ensures they’re lighter and less greasy. If you must fry them, use a shallow pan with a small amount of oil, but the baked version is far better for texture and health.
- Serve Immediately: Baked apple fritters are best enjoyed fresh out of the oven. Serve them warm with a cup of coffee or tea for a cozy treat.
For a deeper dive into how to choose the best apples for baking, check out this guide on selecting apples for baking.
How to Store and Reheat Your Baked Apple Fritters
If you’re lucky enough to have leftovers, here’s how to store and reheat your fritters:
- Storing: Place the fritters in an airtight container and store them at room temperature for up to 2 days. If you need to keep them longer, refrigerate them for up to a week or freeze for up to a month.
- Reheating: To bring back the crispiness, reheat the fritters in a toaster oven or conventional oven. Avoid using the microwave, as it will make them soggy.
Healthier Alternatives for Baked Apple Fritters
While this recipe is already a healthier option compared to traditional fried fritters, here are a few more tweaks to make it even better for you:
- Gluten-Free Options: Substitute the all-purpose flour with a gluten-free flour blend or almond flour for a gluten-free version of these fritters.
- Low-Sugar Substitutes: Replace the sugar with a natural sweetener like stevia or monk fruit to cut down on the sweetness while keeping the flavor intact.
- Dairy-Free: For a dairy-free version, simply swap the milk for almond or oat milk, and use a plant-based butter substitute.
FAQs About Baked Apple Fritters
- Can I make these fritters ahead of time?
Yes! You can prepare the batter and store it in the fridge for up to 24 hours. Alternatively, bake the fritters and store them in an airtight container for up to 2 days. - Can I use other fruits instead of apples?
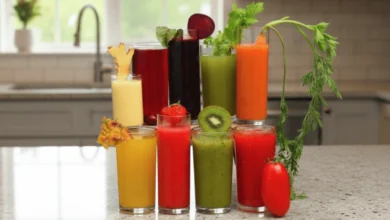
Absolutely! Pears, peaches, or even berries can work in place of apples. Just make sure to adjust the sweetness accordingly. - How do I know when my fritters are done baking?
The fritters should be golden brown on the outside and firm to the touch. You can also insert a toothpick to check for doneness. - Can I freeze baked apple fritters?
Yes, they freeze well! After baking, let them cool completely, then place them in a freezer-safe bag or container. To reheat, bake from frozen at 350°F for 10-15 minutes.
Conclusion:
Baked Apple Fritters are the perfect treat for any occasion. Whether you’re looking to enjoy a comforting breakfast, indulge in a light dessert, or simply satisfy your sweet tooth, these fritters will hit the spot. With simple ingredients, easy steps, and lots of room for customization, they’re a recipe everyone will love. So, what are you waiting for? Head to the kitchen and start baking these deliciously warm, crispy apple fritters. Don’t forget to share them with your friends and family—you’ll be the hero of the day!
For another delightful apple-based dessert, don’t miss our Cinnamon Roll Apple Lasagna recipe that combines the warmth of cinnamon with the richness of apples in every bite.
If you’ve enjoyed this recipe, be sure to leave a comment and let us know how your fritters turned out. And don’t forget to subscribe for more delicious recipes delivered right to your inbox! Happy baking!